Monday, July 20, 2020

GARAM MASALA: Not all are created equal

GARAM MASALA: Not all are created equal

Garam Masala is the lifeblood of curries,masalas and all beautiful foods Indian. But one size does not for all and as colorful as India is, so are the garam masalas. They are specific to regions, to towns, to families even. So before you try out the Tikka Masala dish on this blog, make your own garam masala.... trust me you will never look back.
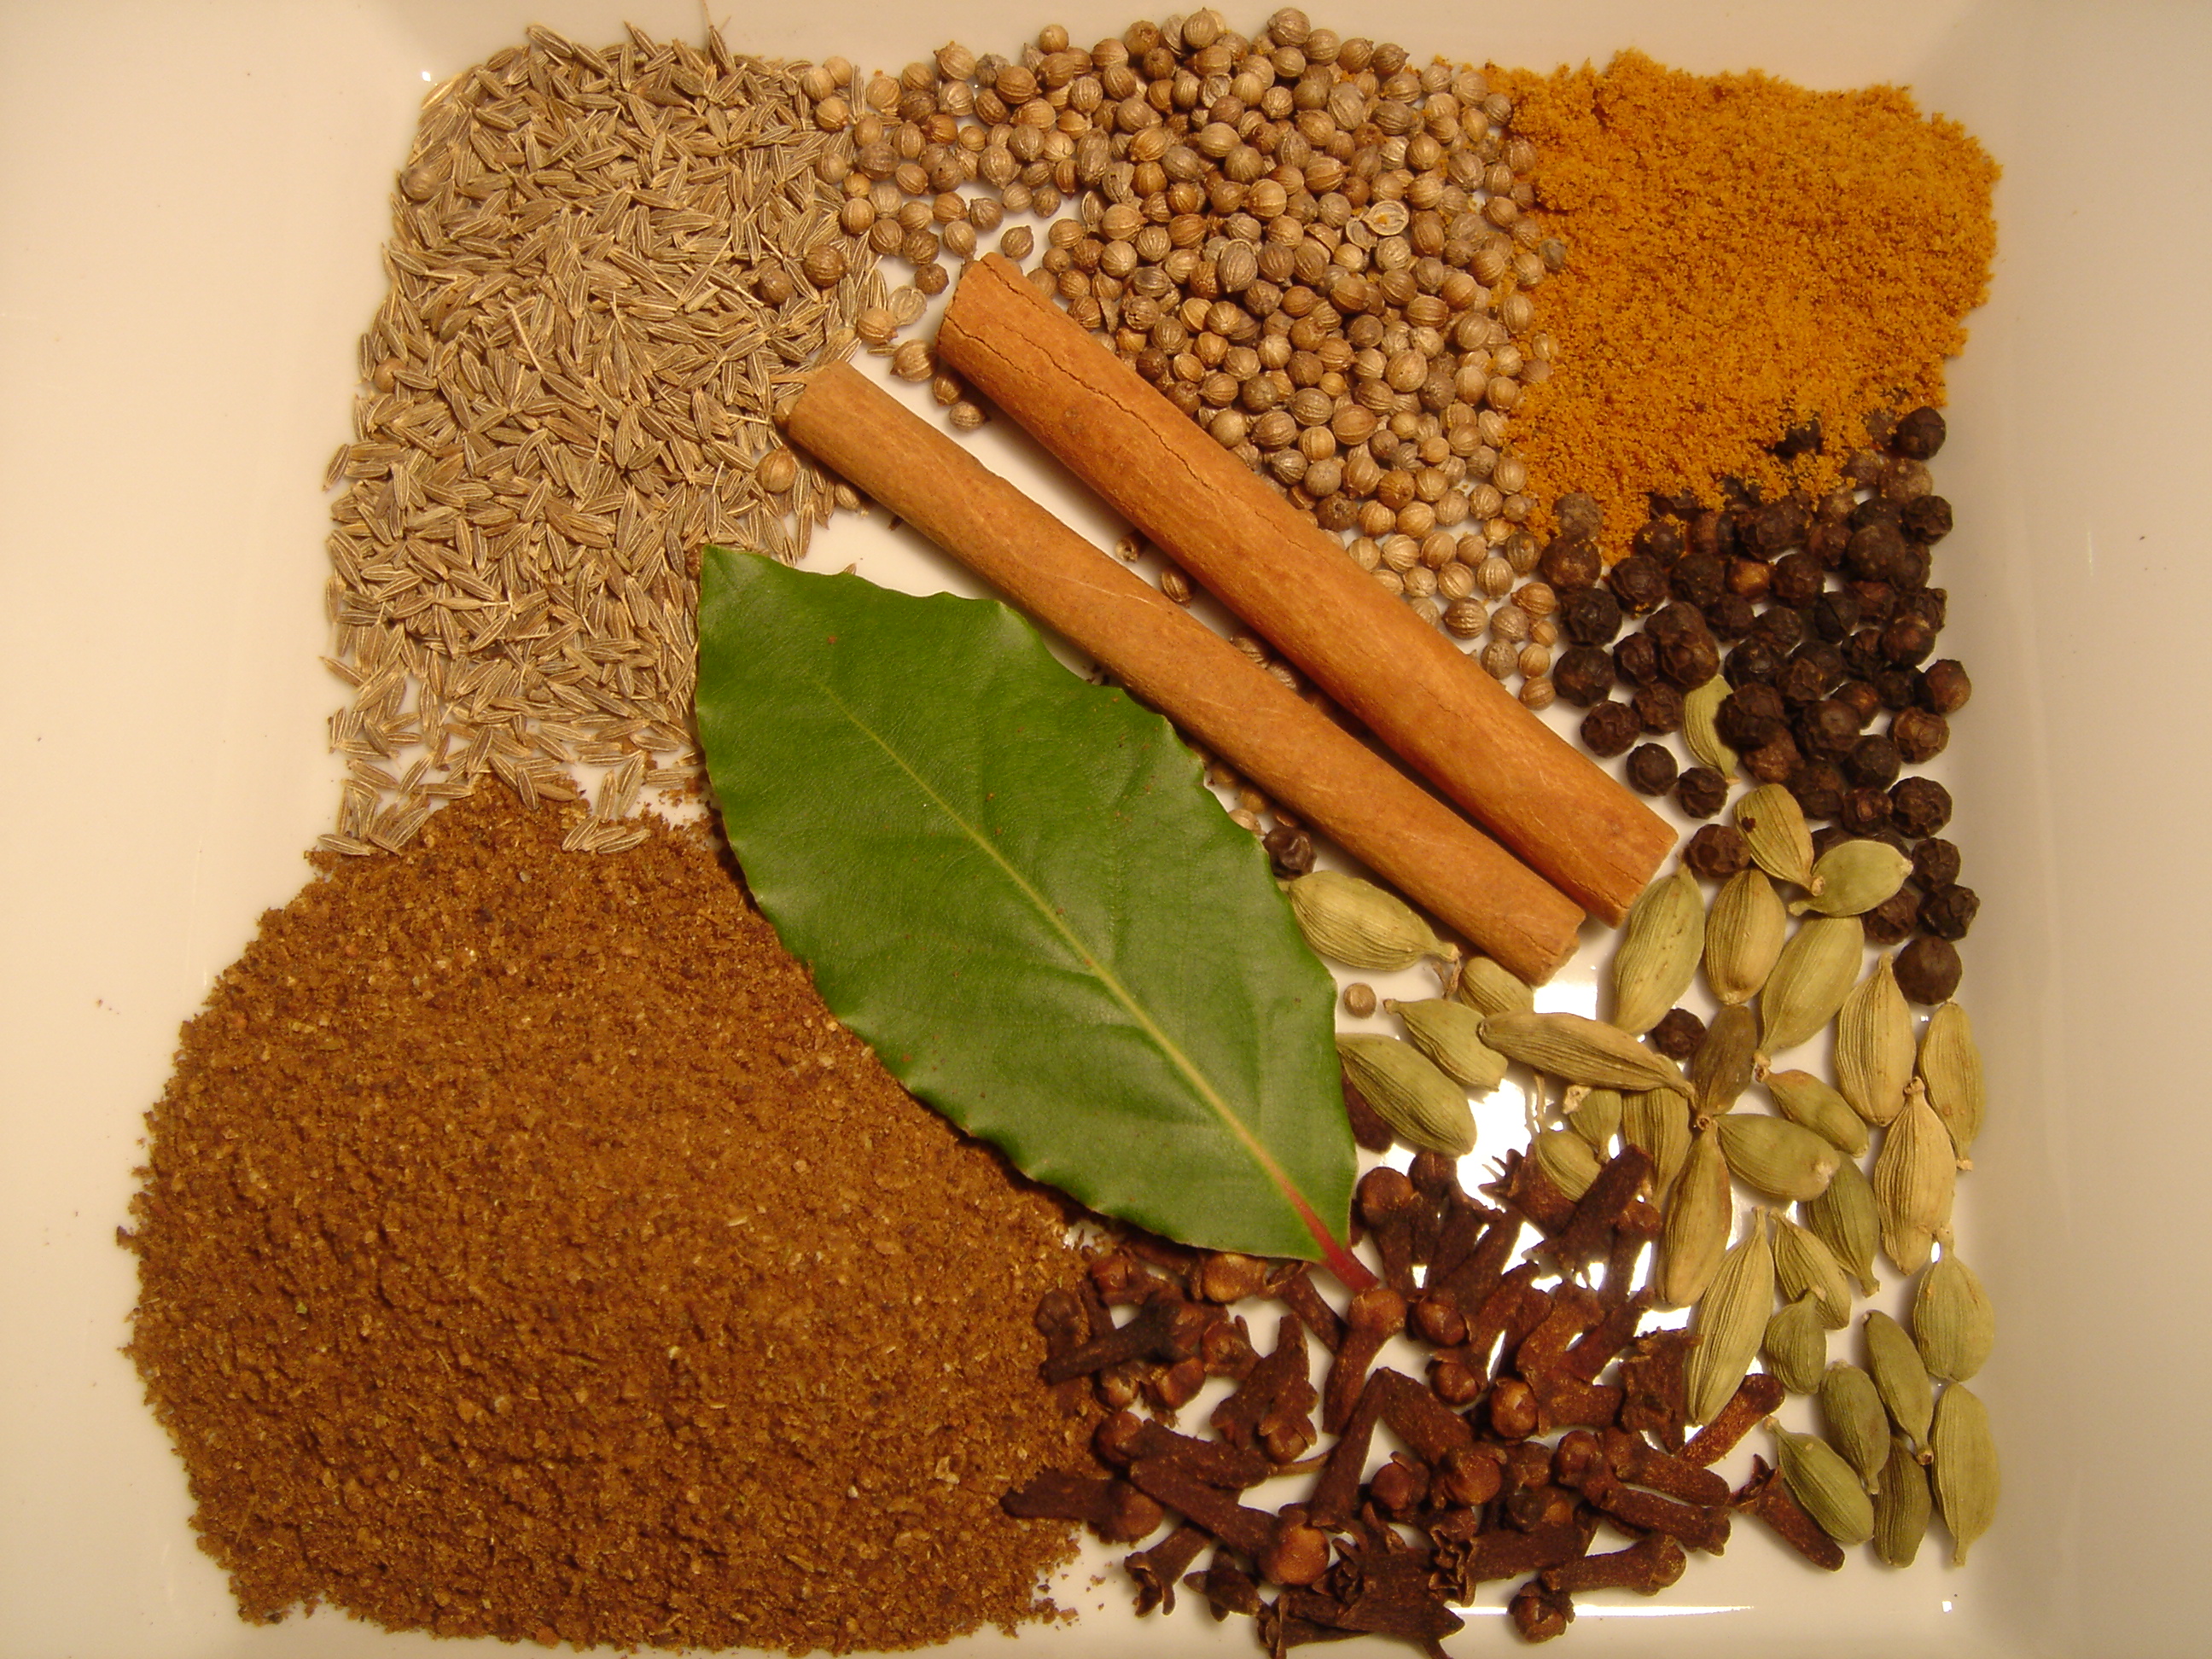


  • 3 1/2 Tbsp ground cardamom   
  • 2 1/2 Tbsp cinnamon 
  • 1/2  tsp grated nutmeg 
  • 3 Tbsp ground cloves 
  • 3 Tbsp coarse ground black pepper 
  • 1 Tbsp ground cumin 
  • 1 1/2 tsp ground coriander 


  1. Add all your spices (preferably freshly ground as it will be most fragrant such as Raw Spice Bar) to a dry pan or skillet and cook on medium heat, stirring frequently until the spices become fragrant and they start to slightly brown. Be careful to not let them burn (it should take no more than 2-3 minutes). 

  1. Let your garam masala cool before adding it to a covered container to use within 2 months.

  2. Pro-TIP: experiment with your spices to create your personal garam masala.

Some say INDIA, others say GLASGOW: The best and easiest TIKKA MASALA

Some say INDIA, others say GLASGOW:

The best and easiest TIKKA MASALA

After a very long hiatus, we are up and cooking again, and what better way to start than with Tikka Masala. In learning about Tikka Masala, I have found that its origins are a bit disputed. Allegedly invented in Glasgow by a Punjabi chef, it has become the official dish of the UK. But there are questions as to whether it dates back thousands of years to the Punjab region and a spoiled ruler who wanted bite-size food because he was afraid of choking (tikka)! No matter where it comes from, we can agree it is delicious ... and even better is the added bonus of using our own blend of spices to create the warm garam masala spice!  Enjoy!

Also, note I am including vegetarian and Kosher options in my new recipes!


INGREDIENTS: 
  • 1 1/2 pounds boneless, skinless chicken thighs or breasts, cut into 1-inch chunks 
Or 
  • For vegetarian/vegan: 
  • 1 1/2 pounds of cauliflower florets (fresh or frozen) 

  • 1 1/2 tablespoons canola oil 
  • Kosher salt and freshly ground black pepper, to taste 
  • 1/2 medium sweet onion, diced 
  • 3 tablespoons tomato paste 
  • 4 cloves garlic, minced 
  • 2 tablespoon freshly grated ginger 
  • 1 1/2 teaspoons garam masala 
  • 1 1/2 teaspoons chili powder 
  • 1 1/2 teaspoons ground turmeric 
  • 1 (15-ounce) can tomato sauce 
  • 1 cup chicken or vegetable stock 
  • 1/2 cup heavy cream or non-dairy creamer for Kosher 
  • 2 tablespoons chopped fresh cilantro leaves 

DIRECTIONS: 
  1. 1.) Heat oil in a large stockpot or Dutch oven over medium heat. 
  2. 2.) Season chicken with salt and pepper, to taste. 
  3. 3.) Add chicken or cauliflower and onion to the stockpot and cook until golden, about 4-5 minutes. 
  4. 4.) Stir in tomato paste, fresh garlic, fresh ginger, garam masala (see recipe to make your own), chili powder, and turmeric until fragrant, about 1 minute. 
  5. 5.) Stir in tomato sauce and chicken or vegetable stock; season with salt and pepper, to taste. 
  6. 6.) Bring to a boil; reduce heat and simmer, stirring occasionally, until reduced and slightly thickened, about 10 minutes. 
  7. 7.) Stir in heavy cream until heated through, about 1 minute. 
  8. 8.) Serve immediately with rice, naan (or chapathi or paratha), garnished with cilantro, if desired. 

Wednesday, January 29, 2014

After a long hiatus...it's BAKING SEASON! Blackberry-Sour Cream muffins, oh my!


BLACKBERRY SOUR CREAM MUFFINS

Oh the weather outside if truly frightful.... blistering cold, temperatures dipping below 0˚F, snow, wind, ice... You can't seem to get warm... What do I do on these days?  I BAKE!!!  Nothing better than the wonderful smell of fresh baked goods around the house and the added bonus, your kitchen is nice and toasty!  So it is this time of year, that I a self-professed home cook/chef, who has a lot to learn about baking hit the books and the recipes and find yummy baked goods to make and try to make them as simple as possible. In other words

Thursday, November 21, 2013

¡Fiesta en Peru! Anticuchos...


¡Tenemos Fiesta en Peru!  Anticuchos....


Anticuchos are a popular party and street food thoughout Latin America, especially in Peru and Ecuador. The most traditional Peruvian anticuchos are made with beef heart, but they can also be made with chicken or steak.  Anticuchos are seasoned with garlic, vinegar, cumin, and aji panca, a mild red chile pepper with a smoky flavor common in Peruvian cooking. You can jarred Aji Panca Paste  here or in specialty stores or Latin food markets.  Anticuchos are best if they are marinated overnight.


Ingredients:

  • 12 cloves of garlic  (you can add more of less of these if you like)
  • 1 tablespoon cumin
  • 1/4 cup mild chile pepper paste (Aji Panca Paste  click here to buy, if available)
  • 1/2 cup vinegar, divided
  • 1 tablespoon salt
  • 2 teaspoons freshly ground pepper
  • 2-3 pounds steak (sirloin, tenderloin) (cut into cubes about 2 inches in size)  (You can also use this same marinade on chicken)
  • Wooden skewers

Preparation:

  1. Place beef cubes in a nonreactive bowl or dish.
  2. Mash the garlic and add a little water to make a paste.  (you can also use store bought garlic paste but be forewarned that the taste will be slightly different.)
  3. Prepare the marinade: in a bowl, mix the crushed garlic, 1/4 cup of the vinegar, 1/4 cup aji panca paste, 1 tablespoon cumin, 1 tablespoon salt, and 2 teaspoons freshly ground pepper.
  4. Pour the marinade over the beef and mix well. Marinade beef overnight in the refrigerator. If you are pressed for time, marinade beef for at least 1 hour at room temperature.  (I usually prepare in advance and let marinade in a baggie.  You can also freeze to be used at a later date)
  5. Prepare the grill. Place the beef onto the skewers (about 4 -6 pieces of beef on each skewer).
  6. Make a basting mixture of 1/2 cup vegetable oil, 1/4 cup vinegar, and a pinch of cumin.
  7. Grill the skewers for about 5 minutes on each side, or to desired doneness. Baste beef several times during cooking.
  8. Serve with rice, corn on the cob with queso blanco or simply as an appetizer on the skewers.
Makes about 12 skewers.

Happy cooking y ¡buen provecho!

Wednesday, November 13, 2013

Willkommen! Bienvenus! Benvenuto! Bainvegni! to Switzerland! Alpine macaroni? Yum!


Älpermagronen (Alpine Macaroni)

Switzerland: the land in the Alps, home of chocolate, great cheeses and....COWS! Switzerland has long been known for its cleanliness, orderliness, environmentally friendliness and delicious foods.  It's traditional cuisine reflects a culture of simplicity and also its mountain roots.  Many of the traditional dishes are hearty and include ingredients that a typical household would have on hand.  In the case of this week's dish, Älpermagronen, cheese, potatoes, pasta, milk or cream, onions and garlic...who doesn't typically have this around?  Add to that a couple of spices and the twist of apple sauce and you have a yummy hit that is easy to make and tasty for the whole family including the kids.  Macaroni and potatoes are baked with Gruyere cheese in a creamy sauce, a traditional Swiss dish served on the slopes of the Alps. Try topping it with chunky apple sauce and crunchy onions to serve. Enjoy!


INGREDIENTS:
3 potatoes, scrubbed (you can use more if you like)
1 (12 ounce) package uncooked elbow
macaroni
2 tablespoons butter
2 large onions, peeled and sliced


Apple sauce (I make my own with apples, a bit of water and some agave but you can use store bought)
1 clove garlic, minced (I use more garlic here since I LOVE it!)
1/2 cup shredded Gruyere cheese (you can use any cheeses you have laying around if you like)
3/4 cup heavy cream (I substitute milk and/or half & half)
a dash of nutmeg
salt and pepper to taste

OPTIONAL:
bacon or pancetta, cubed and rendered


DIRECTIONS:

1.
Place the potatoes in a large pot, fill with enough water to cover them and bring to a boil. Cook until tender enough to pierce with a fork. Drain and cool slightly, then remove the peels, and slice into 1/4 inch thick slices. (you can also dice the potatoes and don't worry they don't have to be uniform)
2.
Preheat the oven to 400 degrees F (200 degrees C). Lightly grease a 9x9 inch baking dish. (or any baking dish big enough to hold all your pasta, cheese onions and potatoes, which for me is typically bigger than 9x9 :-) )
3.
Bring a large pot of lightly salted water to a boil. Add macaroni and cook until barely tender, about 6 minutes. Drain and set aside. (this can happen simultaneously to your cooking potatoes)
4.
Melt the butter in a large skillet over medium-high heat. Add onion; cook and stir until onion starts to turn translucent. Stir in the garlic, and cook for a few more minutes. Remove from the heat and set aside. ( I also add a bit of flour to brown and crisp the onions a bit more and also to help thicken the cheese sauce when it bakes)
5.
Mix all potatoes, pasta, grated/shredded cheese, milk, half the sauteed onions, salt pepper and nutmeg together in a big bowl or pot and make sure it is well blended. Then pour mixture into your baking dish, top with more cheese and the remaining onions and even out the top. Make sure to fill all gaps.
6.
Bake in the preheated oven until the top is golden brown, 15 to 20 minutes. (this may take longer depending on your oven)


Pages